How to Photograph Butterflies
Butterfly photography rewards patience and technique. This guide covers camera settings, approach methods, light conditions, and getting sharp close-up shots.
Why butterfly photography is challenging
Butterflies combine everything that makes wildlife photography difficult: small size, fast movement, sensitivity to approach, and short windows of optimal light. A butterfly that settles for two minutes, then vanishes into vegetation, demands both technical readiness and fieldcraft.
The reward is correspondingly high: a sharp close-up of a fresh Papilio swallowtail or a jewel-like blue in perfect light is among the finest subjects in natural history photography.
Equipment
Lenses
Macro lens (90–105 mm) is the gold standard. True 1:1 magnification lets you fill the frame with a small copper at arm's length. The working distance — roughly 30 cm at 1:1 — is enough not to shadow the subject. Canon, Nikon, Sony, and Sigma all make excellent options in this range.
Telephoto zoom (70–300 mm or 100–400 mm) is more versatile in the field. You lose the magnification of a dedicated macro but gain reach for skittish species and a background-blurring effect at long focal lengths that can be very pleasing. This is the practical choice for travel photography where you cannot carry multiple lenses.
Wide-angle macro (24 mm or 35 mm macro, where available): unconventional but rewarding. Getting within 10–15 cm of a perched butterfly with a wide lens produces dramatic environmental shots that show the habitat context. Requires more patience as you must get very close.
Camera body
Any modern mirrorless or DSLR body is adequate. The most useful features for butterfly photography:
- Fast continuous autofocus with subject tracking — greatly helps for flight shots
- Burst mode (10+ fps) — increases the chance of a sharp frame in a burst
- Articulating screen — allows shooting from ground level without lying flat
- In-body image stabilisation (IBIS) — reduces blur in shaded or overcast conditions
Flash and diffusers
A ring flash or twin macro flash system produces even, shadow-free lighting on close subjects and allows higher shutter speeds in shade. Many butterfly photographers use a small pop-up diffuser over the built-in flash for a softer fill light when shooting in open areas. Natural light is usually preferable when shooting in direct sun — flash can bleach the metallic or iridescent colours of wings.
Camera settings
Aperture: f/5.6–f/8 for a single butterfly with wings flat; f/8–f/11 if you want both wings in a closed-wing lateral shot sharp simultaneously. Stopping down past f/11 introduces diffraction softness at macro distances.
Shutter speed: 1/250 s minimum for a still subject; 1/1000 s or faster for open-wing shots where any wing tremor will blur; 1/2000 s or faster for flight shots.
ISO: Auto, capped at 1600. On bright days the camera will choose ISO 100–200 automatically. In dappled forest shade you may need ISO 800 or higher — modern sensors handle this cleanly.
Focus mode: Single-point AF on a specific part of the wing (ideally the eye or the nearest eyespot). Avoid zone AF or full-frame AF — these will hunt to the background. For flight shots, use continuous AF with the widest zone the camera offers.
Drive mode: Burst (continuous shooting). Even for perched subjects, shooting a burst of 3–5 frames catches the slight variations in wing angle that can make or break a shot.
Light and timing
The best light for butterfly photography is early morning (7–10 am in summer) and late afternoon (4–7 pm). The sun angle is low, shadows are long and warm, and — critically — butterflies that have been roosting overnight are warming up and moving slowly. A cool morning after a clear night will find many species immobile on grass stems or flower heads, wings spread to absorb sunlight: ideal for slow, careful approach.
Overcast light produces soft, even illumination with no harsh shadows — good for showing wing pattern detail but less flattering for iridescent species. The meadow brown is famously active on overcast days; many blues and coppers are not.
Midday is generally the most difficult period: butterflies are warm, fast, and erratic; light is harsh and overhead. Use this time to locate species and plan approach routes.
Approach technique
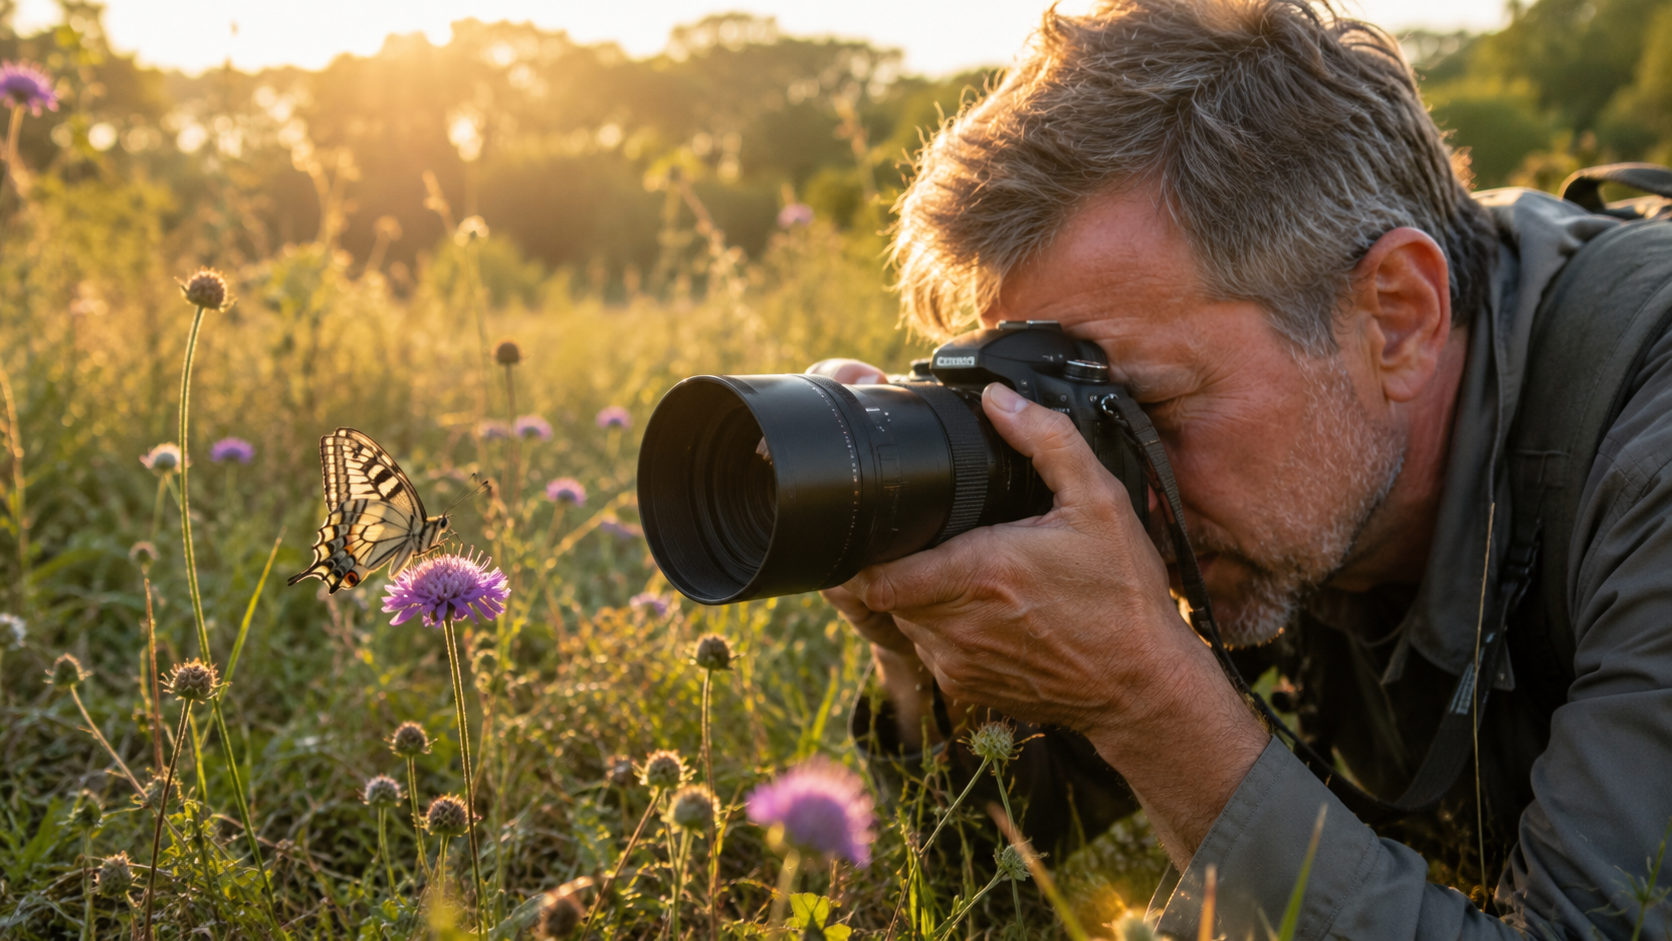
Move slowly and consistently. Sudden stops and starts trigger flight reflexes more reliably than slow continuous movement. Lower your profile as you approach — crouch, then kneel, then get as low as possible for ground-level subjects.
Approach from the side, not from in front. Most butterflies are oriented with their eyes facing a flower or sun-warmed surface. Coming from the side avoids the direct visual field.
Watch the wing angle. When a basking butterfly begins to close its wings or turn away, it is about to fly. Freeze for 30 seconds — it may relax again.
Use natural cover. A grass stem between you and the butterfly breaks your outline. Moving with a gentle side wind keeps your scent away.
Pick the right individual. Fresh, recently emerged butterflies are calmer and less experienced than older individuals. A butterfly feeding heavily on nectar is almost always approachable — it is focused on feeding, not on threats.
Composition
Fill the frame — the single most common mistake in butterfly photography is leaving too much empty space. Get closer, use a longer lens, or crop in post.
Eye level — shooting from the same height as the butterfly, or even below it, produces images that feel immersive rather than documentary.
Background — check what is behind the subject before you shoot. A uniform green background (distant vegetation in a large aperture) looks far better than a cluttered mix of grass stems and sky. Move your position a step to one side if needed.
Wings closed or open? Open-wing shots show the full colour pattern and are often more striking. Closed-wing shots show the underside camouflage pattern and are often more technically achievable (the butterfly is not about to fly). Both are valuable; aim for both when conditions allow.
Include context — a flower, a leaf edge, or a grass stem adds scale and story. A butterfly alone against featureless green is less interesting than the same butterfly on a plant that makes biological sense.
Seasonal and species notes
Spring (April–May): Brimstones, orange tips, and early blues emerge before vegetation is tall. Low grass means easy access; cool temperatures mean slow movement.
Early summer (June–July): peak diversity. Large swallowtails, fritillaries, and admirals are active. Puddling aggregations at damp sand or mud give extended photo opportunities with multiple species.
Late summer (August–September): second broods of many species; painted ladies and red admirals peak. Ragwort and knapweed attract dozens of species.
Tropical destinations: morning mist at rainforest clearing edges, river sandbars where birdwings puddle, and light gaps in forest are the most productive micro-habitats.
Ethical considerations
- Never catch and chill butterflies to photograph them — this is harmful and gives unnatural postures.
- Do not handle or handle-stress specimens to open wings.
- Avoid trampling vegetation around a perched subject while repositioning.
- In protected areas, check regulations before using macro flash equipment, which is sometimes restricted.
The best butterfly photographs come from observation and patience rather than intervention — and an undisturbed subject always looks better than a stressed one.